
STAGE FILE / 9—12
9-12 Bunny Gloria: charm, positioning & teams
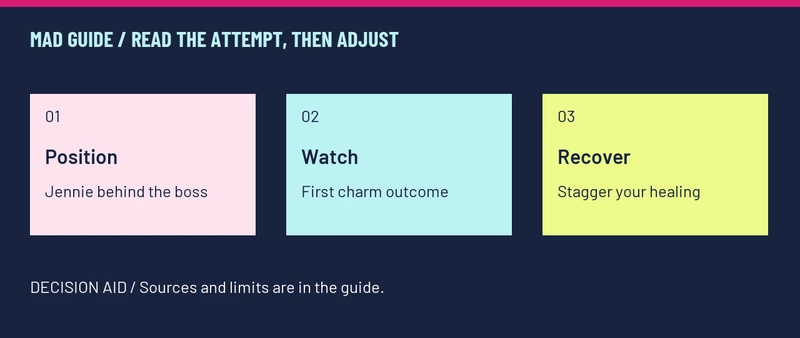
The reported approach puts Jennie behind Bunny Gloria and uses enough healing to survive while dealing single-target damage. Watch the first charm: the original author restarted when Jennie was charmed and walked back into the team. This is a community clear route, not a guaranteed or three-star solution. [1]
Start with a reported team
| Report | Lineup or change | Condition and limitation |
|---|---|---|
| patientcg · original post | Jennie, Yuria, Charlotte, Ines, Lucia | Reported clear at level 40; the author thought 39 might be possible, but did not establish it for this exact team. |
| deco1099 · follow-up | Replaced Charlotte with Bianca in a Jennie / Yuria / Ines / Lumina team | Reported a one-star clear after the previous lineup fell short. |
| Same_Plant_5973 · separate reply | Jennie, Yuria, Mane, Ines, Isabel | Reported a level-39 clear with two charm resists. That is a condition of this report, not a guaranteed result. |
What to watch during the fight
- Check the opening position. The original report relies on Jennie moving behind the boss so the fight does not put the same pressure on the rest of the team.
- Watch the first charm. The post places this at roughly 1:50 on the battle timer. If Jennie returns into the group and damage becomes unmanageable, the author treats that as a restart condition.
- Order buffs before damage. The report warns that the boss’s recurring area attack can stun and interrupt casts. Watch the animation rather than assuming an exact universal timer.
- Stagger healing. Ines’s target and the health of the ranged group matter; avoid spending both healing tools on damage already recovered.
- Judge the attempt by the outcome. Even a favorable opening was inconsistent for the author. A surviving team still needs enough damage to finish.
If your roster differs
Bianca was only an untested idea in the original post, but commenters later supplied actual substitution feedback. That distinction matters: the later one-star report is evidence of a clear; the original suggestion alone was not.
The proposed double-tank variation with Midwen was not developed enough by the author to validate. We do not present it as a second confirmed route. Likewise, a general healing or cleanse recommendation is not proof that your current skill levels reproduce somebody else’s result.
When to change the plan
If the formation survives but cannot finish, compare its damage contribution before adding another defensive slot. If the same charm/position failure repeats, more blind attempts may teach less than changing one slot or developing the current team. Record the lineup, level, charm outcome and clear rating so your next comparison is meaningful.
These reports are dated 20 October 2026. Character investment, charm outcomes and later patches can change their applicability. We have not played or recorded these clears ourselves.
Sources & verification
- patientcg and commenters · Reddit (external, opens in a new tab)
20 October 2026 UTC. Original clear report, later roster substitutions and failed attempts. Clear conditions vary; the guide is not a guaranteed clear.